
Personally, there is nothing that says fall more than a homemade pie cooling on the counter. I have two go-to recipes for fruit pies. Both are family recipes: my Mom’s Apple Pie and my aunt Beth’s Cherry Pie.
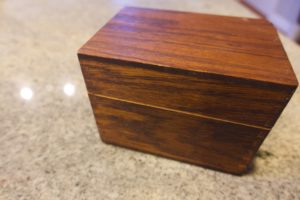
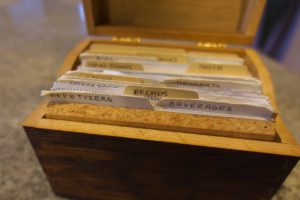
One of the reasons I love baking so much is it means that I get to take out my old wooden recipe box. Mine was my Me-Mom’s (baking buddy extraordinaire, best friend, and amazing grandma). The wonderful thing about using handwritten family recipes is the memories that come with them. I swear I can feel her standing with me in the kitchen when I’m baking one of hers.
I digress….back to PIE.
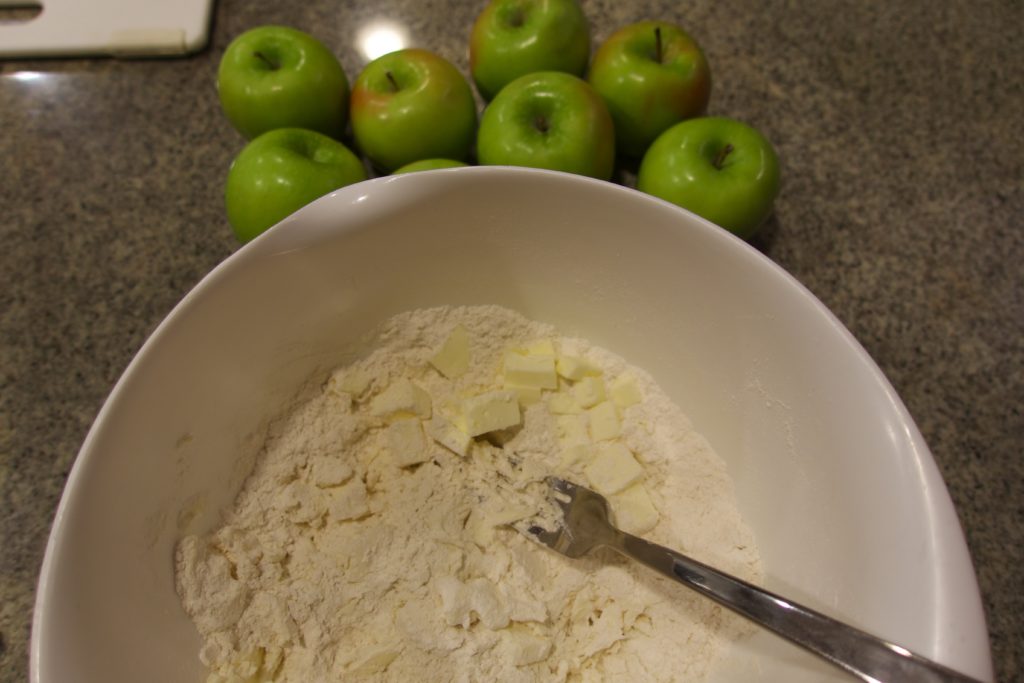
For my pies, I use a double crust recipe. The trick to any pie crust recipe is to make sure your butter is cold, and be patient when combining the ingredients to form ‘crumbles’. A pastry cutter is ideal for this part of the process, but a fork will also work well (you’ll just need a bit more elbow grease). You will want your crumbles to be small (pea sized), before adding any water to the mixture.
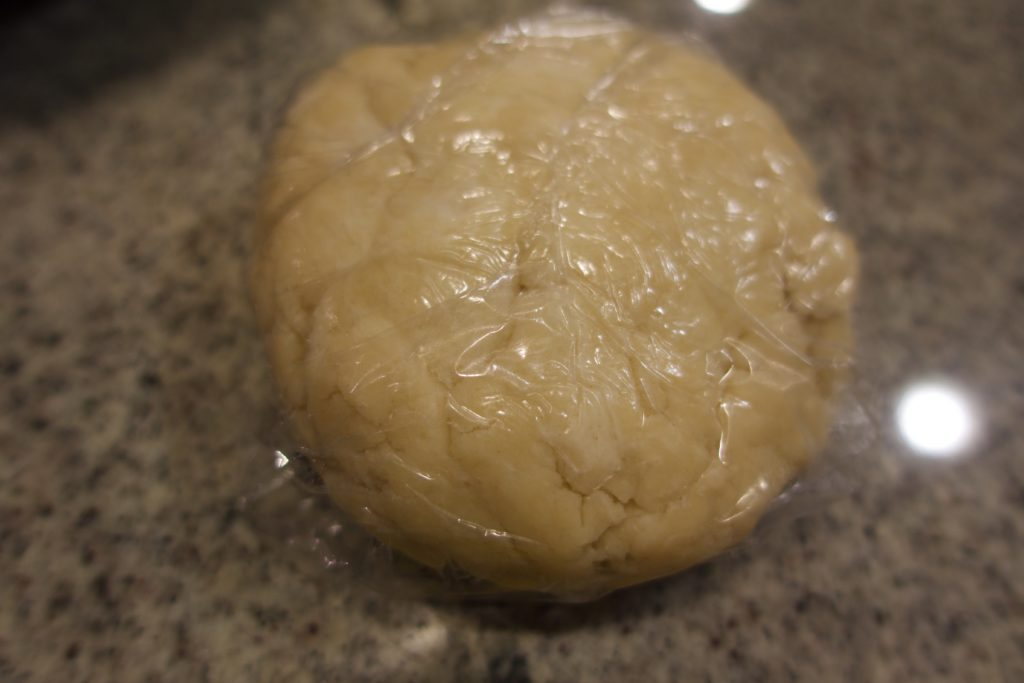
Don’t overwork your dough! As soon as it is mixed well with water, gather it together to form 2 equally-sized discs. If your dough is still too crumbly to form into a ball, add a tiny bit of cold water to the mixture. Wrap each disc in cling wrap and place in the refrigerator for at least an hour.
Be sure to prepare your work surface prior to taking the dough out of the refrigerator for rolling. I use a pastry mat, which sticks to the counter nicely, and is easy to clean. If you don’t have a mat for rolling, just be sure to clean and dry your work surface thoroughly and dust with flour evenly before rolling out.
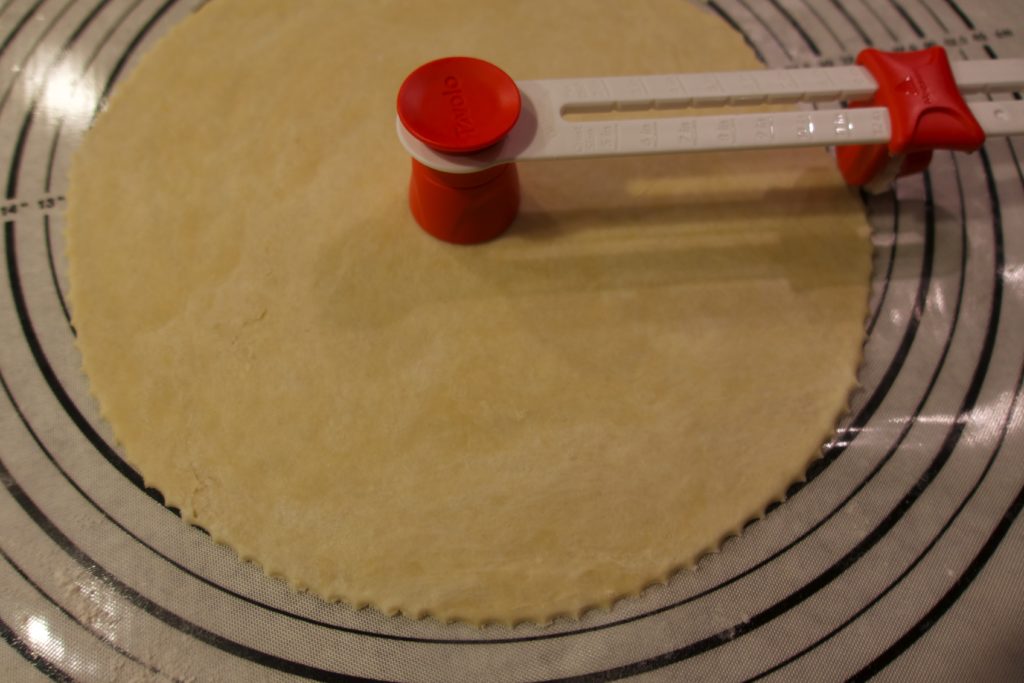
My mom just gave me a pie crust cutter, which is fantastic for getting a perfectly round circle- THANKS MOM! If you don’t have this gadget, the key to rolling the pie crust base is to err on the large size. It’s always easier to cut excess dough than to add more!
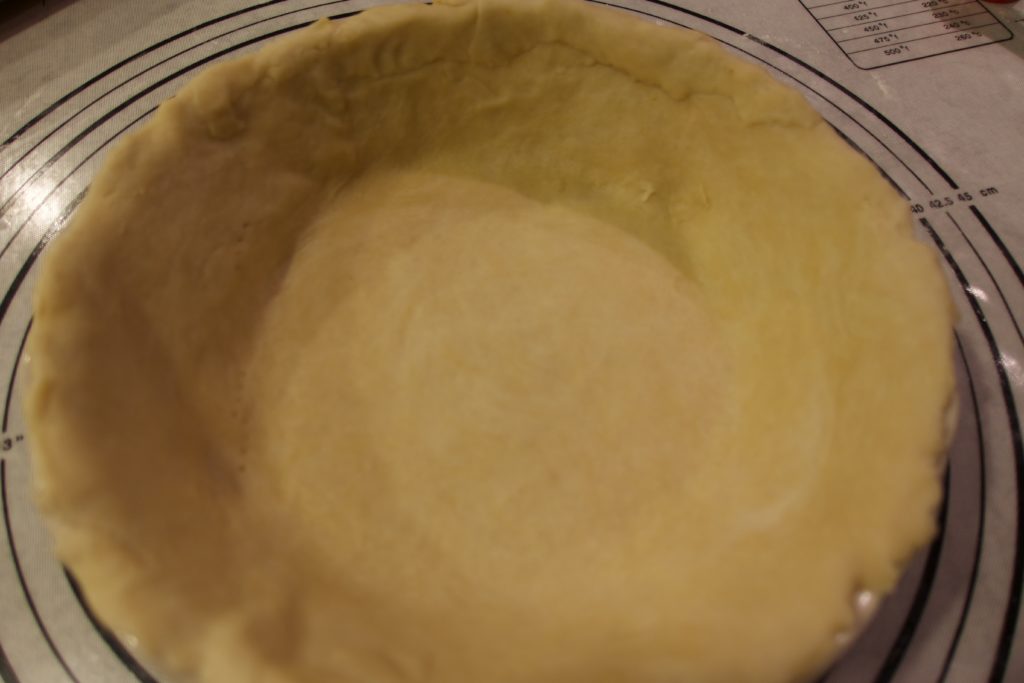
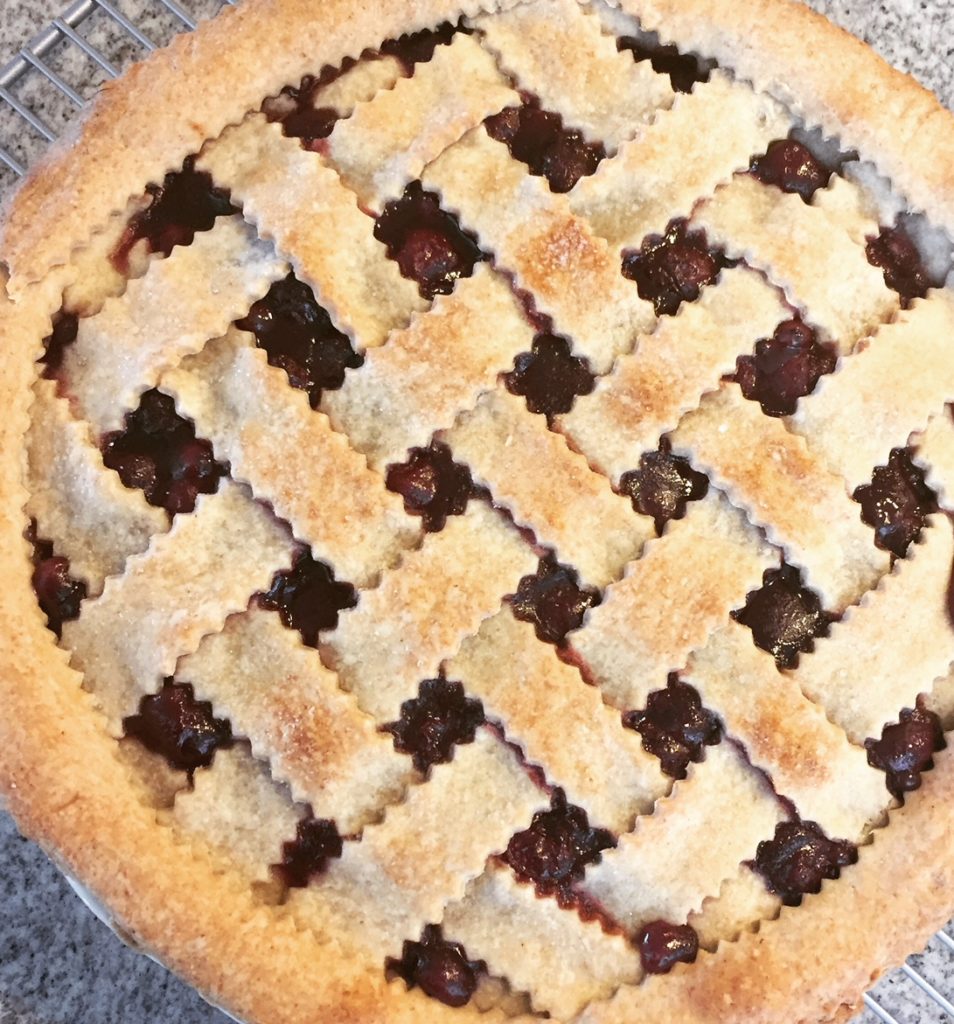
Once rolled out and cut, drape the dough over your rolling pin and pace in the pie pan. Smooth out the crust to ensure there are no bubbles. Now your filling can go over the crust. Roll out the second disc of dough in the same fashion as the first. Now you can get creative! I tend to do lattice on my pies because I’m a crazy traditionalist. A good hack to make them look professional- use a ribbon cutter! It will make sure your strips are evenly cut, as well as have a pretty edge to them.
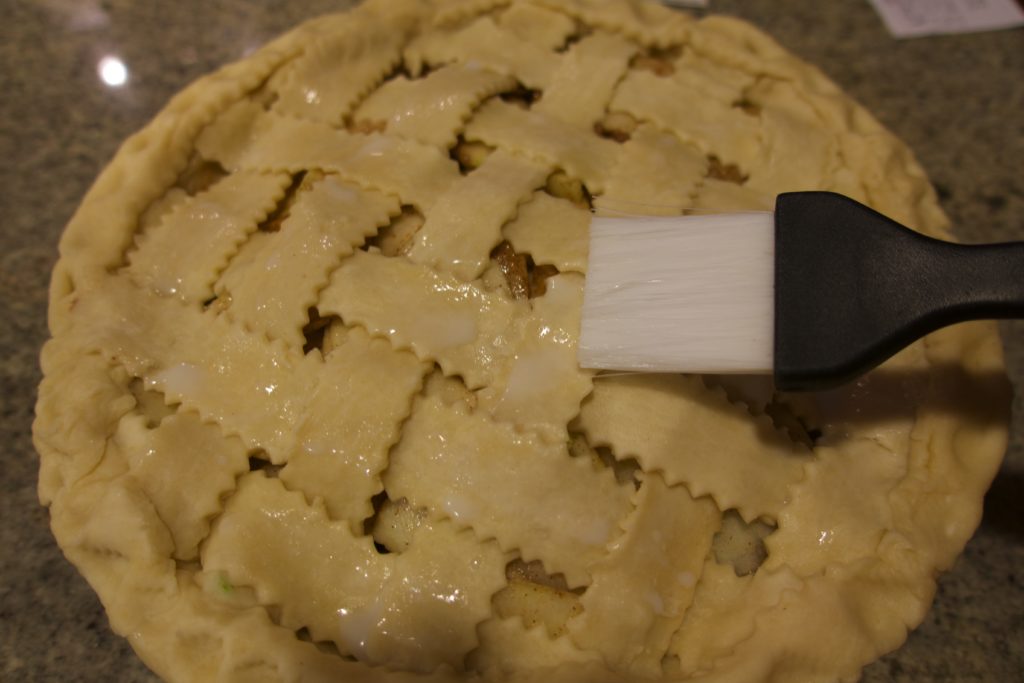
After my top crust is assembled on the pie, I brush it with milk and sprinkle with a light dusting of sugar. This creates a nice finish on the top of the pie. Just don’t brush the edges of the pie! This will encourage it to burn.

| Prep Time | 20 minutes |
| Passive Time | 1 hour |
| Servings |
pie crusts
|
Ingredients
- 2 c. flour
- 1 t. salt
- 2/3 c. unsalted butter
- 6-7 T. cold water
Ingredients
|
|
Instructions
- In mixing bowl, combine flour and salt.
- Cut in butter until pieces are the size of small peas.
- Sprinkle 1 T. water over the mixture, gently toss with pastry cutter or fork. Push to the side of the bowl. Repeat until all is moistened.
- Form into 2 discs and wrap in cling wrap. Place in refrigerator for at least 1 hour.
- On lightly floured surface, flatten 1 disc of dough with hands. Roll dough from center to edge, forming about a 12" circle.
Recipe Notes
To prevent browning, cover edge of pie with foil for the first 25 minutes of baking time.
Share this Recipe
Here is a good tutorial video on how to weave a lattice pie crust.
Moving on to fillings…
Mom’s Apple Pie
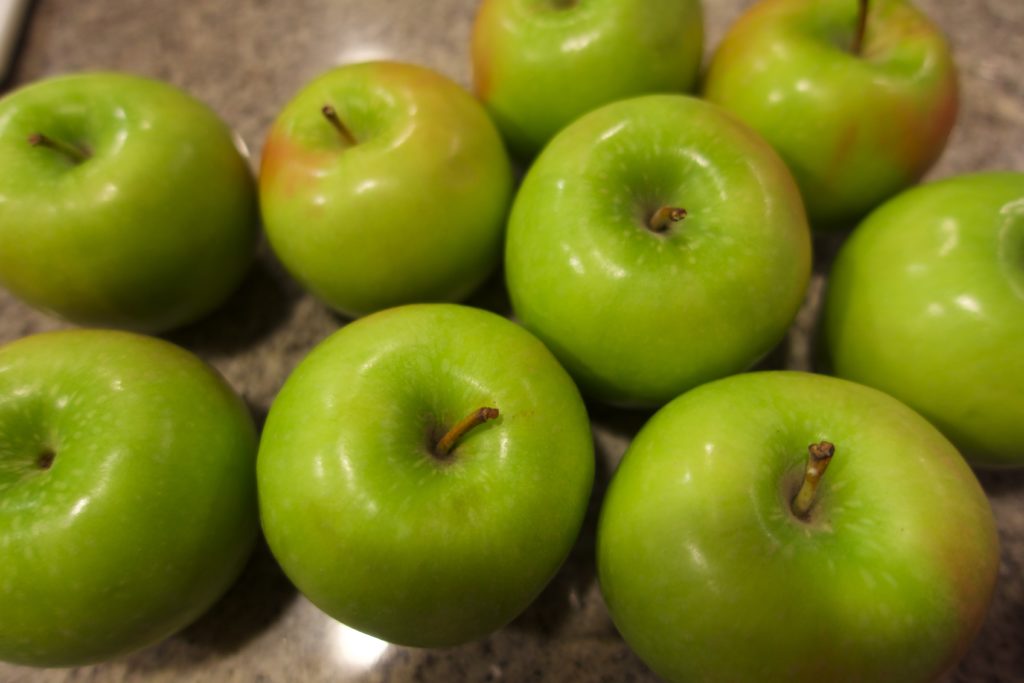
I’ve had a lot of people ask me what kind of apples I use in my pie. I honestly tend to get whatever is on sale! Given a choice, however, I would use Granny Smiths, as they are tart and a bit crunchier. When determining how many apples to use- always buy more. A mounded-up pie is better than a concave one 🙂 Remember, it will settle as it bakes.
I have vivid memories of watching my mom cut apples for this pie. She would always make the slices of apples as thin as possible. After I made this pie several times, I figured out why: it allows the filling to settle evenly as well as provides more surface area for the cinnamon-sugar coating to adhere to. Smart woman, my mom.
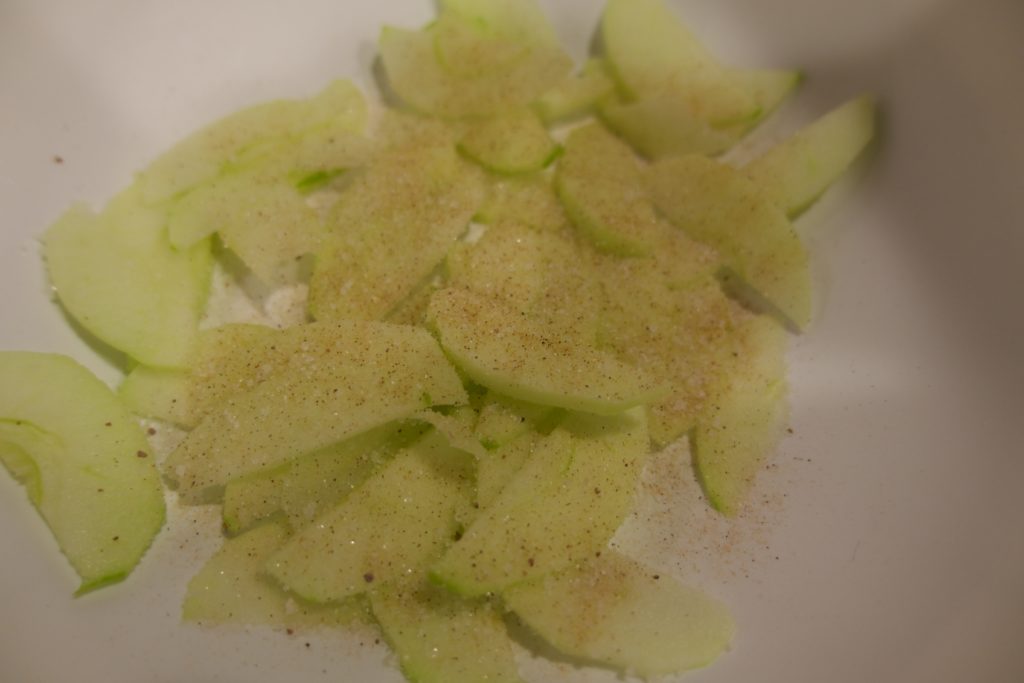
Another trick is to have your cinnamon-sugar mixture ready to go before cutting your apples. After each apple is cut, throw it into the bowl, and add a layer of the sugar mixture. This coats the apples as you go and prevents browning. Which leads me to my next tip: as much as you may be tempted to- DO NOT add lemon juice to your cut apples to prevent browning! This will add too much liquid to your filling. Once all apples are cut, mix the apples and sugar mixture thoroughly (I use my hands), and place them in the base crust, gently evening areas out with your hands.
Top with your preferred top crust design!

Instructions
- Set oven to 425 F.
- In a bowl, mix together sugar, cinnamon, nutmeg, and flour. Set aside.
- Peel and thinly slice apples. As each is peeled and sliced, place in a large bowl and layer with some of the dry mixture.
- Thoroughly combine apples and dry mixture, coating apples as evenly as possible.
- Pour filling into pie crust, and cover using whatever crust top design you prefer.
- Bake at 425 F for 15 minutes.
- Adjust oven to 350 F and bake for remaining 45 minutes.
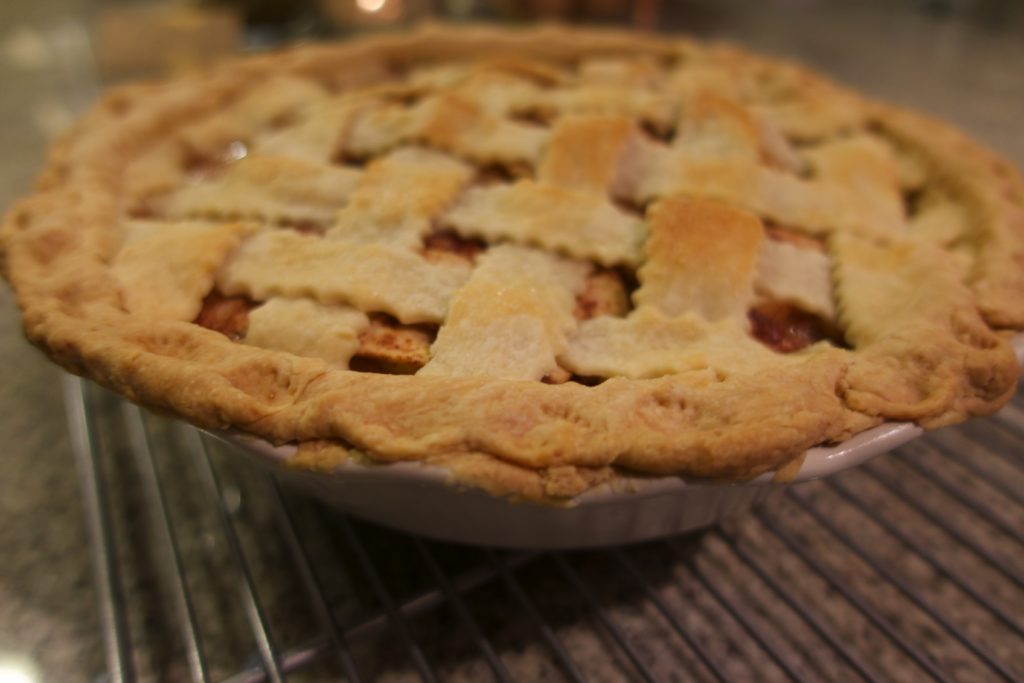
- Let cool on wire rack for at least 2 hours before serving.
Share this Recipe
Beth’s Cherry Pie
Beth has been in my life since I was a little girl. Isn’t chosen family the best?! One of my earliest memories of her was when she brought her cherry pie to a family dinner. I mean, as if I didn’t already like her enough. Cherry pie is my favorite. She swears it’s nothing special, but I have yet to find a recipe that tastes the same. The tartness of the cherries is SO GOOD.
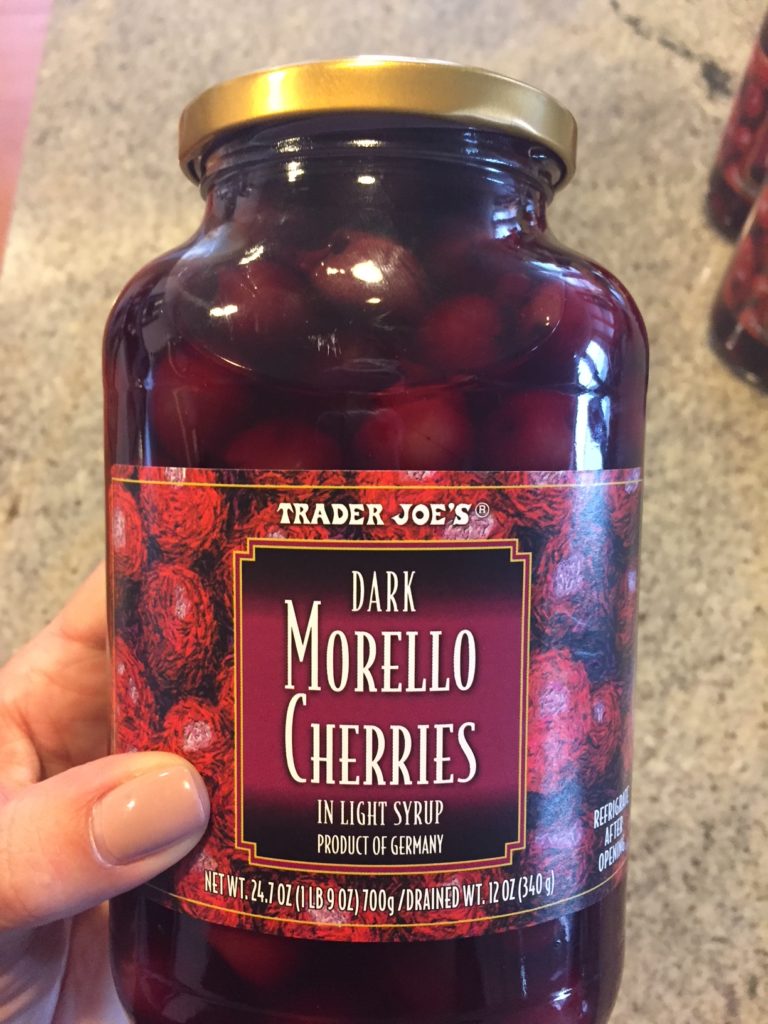
The recipe calls for cherries “in water”. These are sometimes hard to find. In fact, I’ve had many a supermarket worker try to tell me that cherry pie filling is the same thing (face palm). Trader Joe’s is my store of choice, and they carry them!

| Prep Time | 15 minutes |
| Cook Time | 25 minutes |
| Servings |
pie
|
Ingredients
- 3 cans pie cherries (24.7 oz cans) in water
- 1 c. sugar
- 1/3 c. flour
- 2 t. cinnamon
Ingredients
|
|
Instructions
- Set oven to 425 F.
- Drain 2 cans pie cherries and reserve the water/juice of the last can.
- In a medium saucepan, add reserve water/juice, sugar, flour, and cinnamon. Mix.
- Bring to a full boil, stirring constantly until thickened.
- Add cherries and mix thoroughly. Fill pie crust with hot cherry mixture.
- Top with whatever top pie crust design you prefer.
- Bake at 425 F for 35 minutes or until crust is golden and cherries bubble.
Share this Recipe
Mini Pie Option
I bake a lot for parties, office functions, you name it. Bringing a whole regular pie to cut is labor intensive, not to mention not easy to transport. A fun way to work around these hassles is to use the recipe to make mini pies. This way, everyone gets their own- with no cutting required.
Use the same recipe for pie crust listed above, but use a large circle cutter to cut out the individual pie bases. I use the largest size of this set. Once your circles are cut, place each in a muffin tin. Add your filling and top as you wish! For these mini pies, the oven should be at 425 F for a baking time of 18-20 minutes. Or until crusts are golden and fillings are bubbly. Be sure to let the pies completely cool in the muffin tin for at least 30 minutes before taking them out. To remove from the tin, use a knife to loosen the edges.
In our house, the big debate is: to add ice-cream or not to your pie. My husband won’t have pie without it, while I’m a pie purist. We DO both like it heated. ‘When Harry Met Sally’, anyone??
However you prefer your pie, ENJOY!